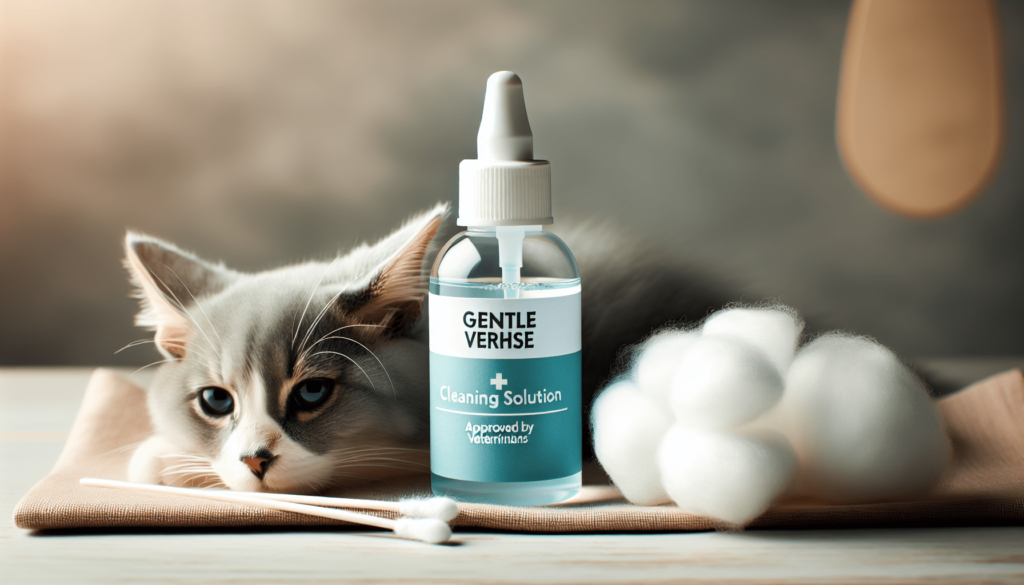
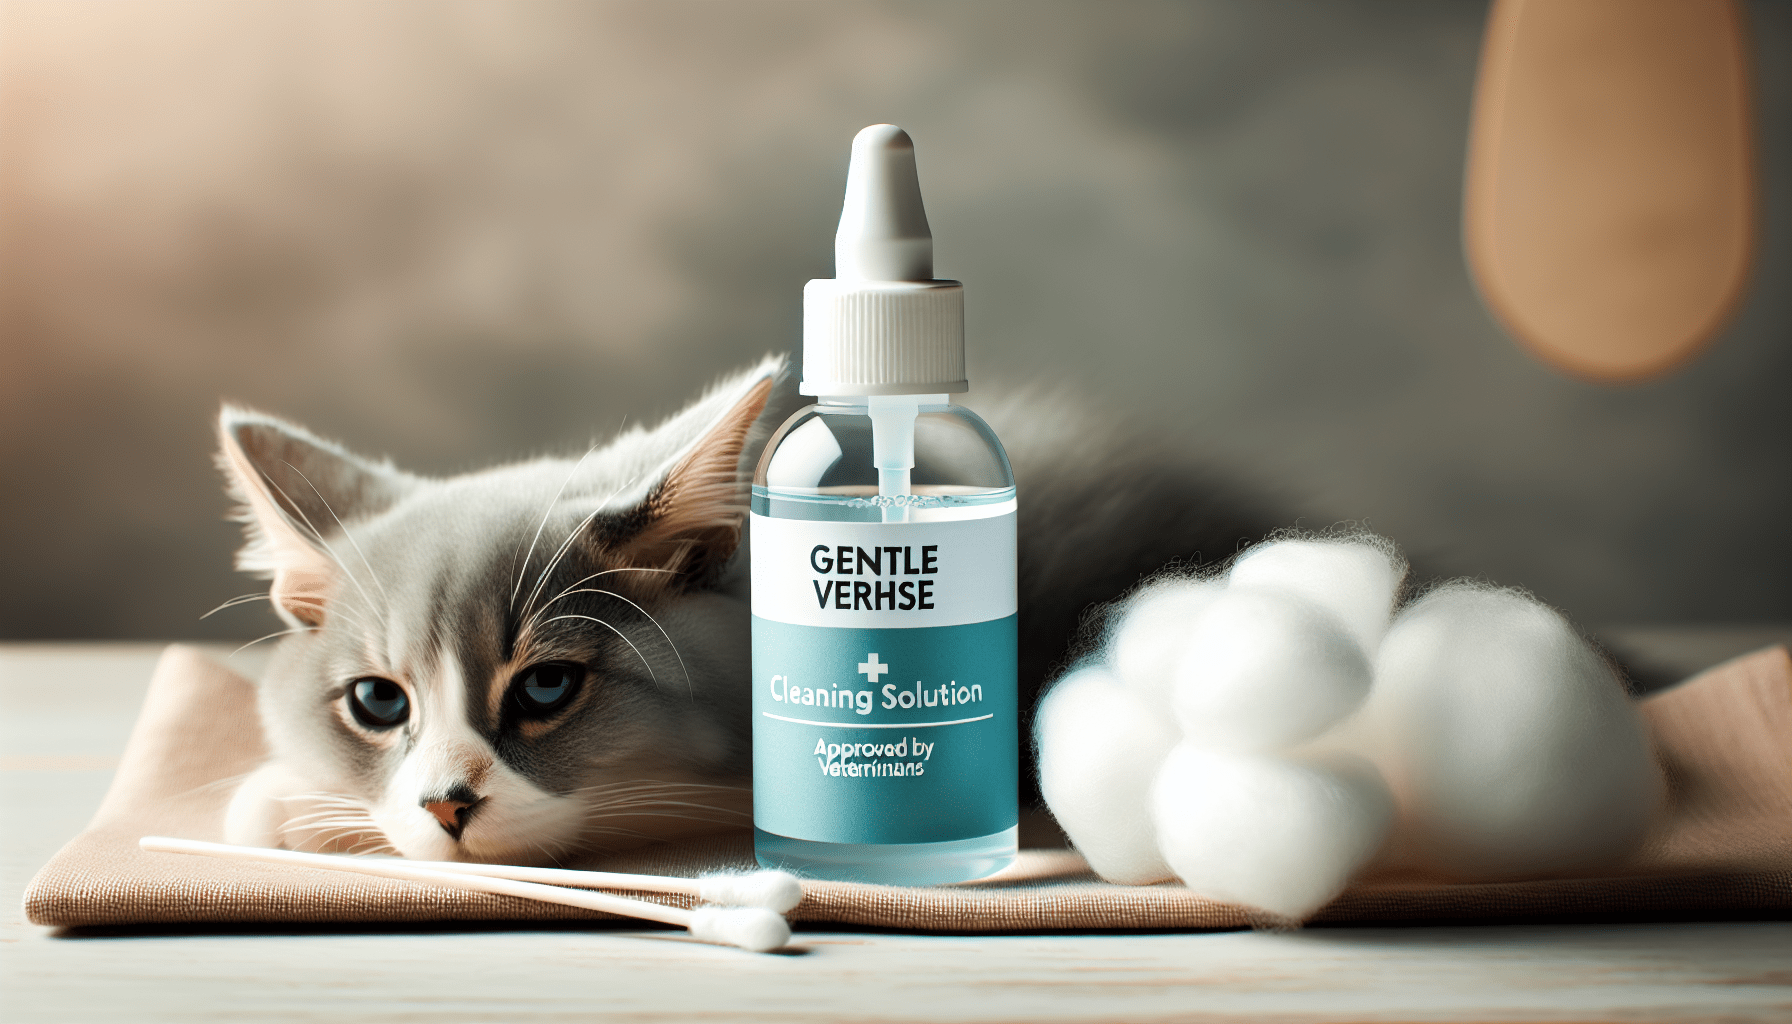
Welcome to the guide on how to clean your cat’s ears! Keeping your feline friend’s ears clean is important for their overall health and wellness. In this article, you will learn the proper steps and techniques for safely cleaning your cat’s ears at home. By following these simple tips, you can help prevent ear infections and ensure your cat stays happy and healthy. So let’s get started on giving your kitty’s ears a good clean! Are you wondering how to clean your cat’s ears properly? It’s essential to keep your feline friend’s ears clean to prevent infections and ensure their overall health. In this article, we’ll provide you with a step-by-step guide on how to clean cat ears effectively and safely. Follow these tips to make the ear-cleaning process stress-free for you and your cat.
Why Is Cleaning Your Cat’s Ears Important?
Cleaning your cat’s ears is an essential part of their grooming routine. Cats are meticulous groomers themselves, but sometimes they need a little help in keeping their ears clean. Regular ear cleaning can help prevent ear infections, remove excess wax buildup, and detect any ear issues early on.
Keeping your cat’s ears clean is vital for maintaining their overall health and well-being. By establishing a regular ear-cleaning routine, you can prevent potential ear problems and keep your furry friend happy and healthy.
Signs That Your Cat’s Ears Need Cleaning
Before you start cleaning your cat’s ears, it’s crucial to check for signs that indicate they need attention. Some common signs that your cat’s ears need cleaning include:
- Excessive scratching or pawing at the ears
- Shaking or tilting their head frequently
- Foul odor coming from the ears
- Discharge or debris in the ear canal
- Redness or swelling in the ear area
If you notice any of these signs, it’s time to clean your cat’s ears. Regularly checking your cat’s ears for these signs can help you catch any potential issues early on and address them promptly.

Supplies You Will Need
Before you start cleaning your cat’s ears, gather all the necessary supplies. Having everything you need on hand will make the ear-cleaning process more efficient and less stressful for both you and your cat. Here’s a list of supplies you will need:
| Supplies | Description |
|---|---|
| Cat ear cleaner | Specifically designed for cleaning cat ears |
| Cotton balls or pads | To wipe and clean the ear canal gently |
| Towels or tissues | To clean up any spills or mess |
| Treats or rewards | To reward your cat for cooperating |
| Optional: gloves | To protect your hands from dirt and debris |
Make sure to choose a cat ear cleaner that is safe and gentle for your feline friend. Avoid using any harsh chemicals or solutions that can irritate your cat’s ears. Cotton balls or pads are ideal for cleaning the ear canal as they are soft and gentle. Treats or rewards can help make the ear-cleaning experience more positive for your cat.
How To Clean Your Cat’s Ears Step-By-Step
Now that you have gathered all the necessary supplies, it’s time to clean your cat’s ears. Follow these step-by-step instructions to ensure a safe and effective ear-cleaning process:
-
Prepare the Environment: Find a quiet and comfortable space to clean your cat’s ears. Make sure your cat is relaxed and calm before starting the ear-cleaning process.
-
Hold Your Cat Securely: Gently hold your cat in your lap or on a stable surface to prevent them from squirming or escaping. Speak softly to reassure them and provide comfort during the process.
-
Inspect the Ears: Carefully examine your cat’s ears for any signs of redness, swelling, discharge, or debris. If you notice any abnormalities or if your cat is in pain, consult your veterinarian before proceeding with cleaning.
-
Apply Cat Ear Cleaner: Follow the instructions on the cat ear cleaner bottle for the recommended amount to use. Gently lift your cat’s ear flap and apply the cleaner into the ear canal. Massage the base of the ear to help distribute the cleaner.
-
Wipe the Ear Canal: Take a clean cotton ball or pad and gently wipe the inside of the ear canal. Avoid inserting anything deep into the ear canal to prevent injury. Use a fresh cotton ball for each ear to avoid transferring dirt or bacteria between ears.
-
Reward Your Cat: After cleaning both ears, reward your cat with treats or praise for their cooperation. Positive reinforcement can help make the ear-cleaning experience more enjoyable for your cat.
-
Repeat if Necessary: If your cat’s ears are particularly dirty or if they have a history of ear issues, you may need to repeat the ear-cleaning process regularly. Consult your veterinarian for advice on how often you should clean your cat’s ears.
-
Monitor for Reactions: After cleaning your cat’s ears, observe them for any signs of irritation or discomfort. If your cat displays any unusual behavior or if their ear condition worsens, seek veterinary attention immediately.
By following these steps, you can clean your cat’s ears effectively and safely. Remember to be patient and gentle throughout the process to ensure a positive experience for both you and your cat.

Tips for Stress-Free Ear Cleaning
Cleaning your cat’s ears can be a challenging task, especially if your cat is not used to it. Here are some tips to make the ear-cleaning process stress-free and more manageable for both you and your feline friend:
-
Start Slow: Introduce your cat to ear cleaning gradually by touching and handling their ears regularly. This will help them get used to the sensation and make the cleaning process less intimidating.
-
Use Positive Reinforcement: Reward your cat with treats, praise, or playtime after each ear-cleaning session. Positive reinforcement can help create a positive association with ear cleaning and encourage cooperation.
-
Take Breaks: If your cat becomes agitated or stressed during the ear-cleaning process, take breaks as needed. Allow your cat to relax and calm down before resuming the cleaning.
-
Seek Professional Help: If you are unsure how to clean your cat’s ears or if your cat is resistant to the process, consult your veterinarian for assistance. They can provide guidance and demonstrate the proper ear-cleaning technique.
By following these tips, you can make the ear-cleaning experience more pleasant for both you and your cat. Remember to be patient, gentle, and attentive to your cat’s needs throughout the process.
When to Consult a Veterinarian
While regular ear cleaning is essential for your cat’s health, there are certain circumstances where you should consult a veterinarian for professional help. Some situations that require veterinary attention include:
- Persistent or severe ear infections
- Chronic ear itching or scratching
- Foul odor or discharge from the ears
- Head shaking or tilting that does not improve
- Changes in behavior or appetite associated with ear issues
If you notice any of these signs or if you are unsure how to proceed with cleaning your cat’s ears, seek veterinary assistance promptly. Your veterinarian can perform a thorough examination, diagnose any underlying issues, and recommend appropriate treatment for your cat’s ear problems.
Final Thoughts
Cleaning your cat’s ears is a crucial part of their overall grooming routine. By following the step-by-step guide provided in this article and incorporating the tips for stress-free ear cleaning, you can ensure your cat’s ears remain clean and healthy. Remember to be patient, gentle, and attentive to your cat’s needs throughout the ear-cleaning process. Regular ear cleaning can help prevent infections, remove excess wax buildup, and maintain your cat’s overall well-being. If you have any concerns or questions about cleaning your cat’s ears, consult your veterinarian for professional guidance and assistance. Your furry friend will thank you for keeping their ears clean and healthy!

