How To Draw A Cat Step By Step
Have you ever wanted to learn how to draw a cat but didn’t know where to start? Well, look no further! In this article, we will guide you through the process of drawing a cat step by step. Whether you’re a beginner or an experienced artist, this easy-to-follow tutorial will help you create a beautiful feline masterpiece. So grab your pencil, get ready to unleash your inner artist, and let’s begin this purrfect drawing adventure!
Materials Required
Choosing the paper
To begin your cat drawing, you’ll need to choose the right paper. A medium-weight drawing paper or a sketchbook with a smooth surface is ideal for this project. Avoid using rough-textured paper as it can interfere with the smoothness of your lines.
Determining the size of the drawing
Consider the size you want your cat drawing to be. Depending on your preference, you can create a small, detailed drawing or a larger, more expressive piece. Keep in mind the amount of detail you wish to include and the level of intricacy you are comfortable with.
Selection of drawing tools
You’ll need a variety of drawing tools for your cat drawing. Pencils are a popular choice, and a set of graphite pencils ranging from 2H to 6B can be helpful. Mechanical pencils with different lead thicknesses are also useful for creating fine details. Additionally, charcoal pencils, colored pencils, or even pens can be used for different effects.
Erasing tools
Having a good quality eraser is essential for any drawing. A kneaded eraser can easily be shaped to erase smaller areas, while a vinyl eraser is great for larger sections. It’s also helpful to have a pencil sharpener handy to keep your pencils sharp throughout the drawing process.
Positioning Your Cat
Choosing the posture of the cat
Decide on the posture you want your cat to have in the drawing. You can depict a cat sitting, standing, or even in a playful pose. Researching different cat poses or observing real-life cats can provide inspiration and reference for your drawing.
Understanding cat anatomy
Having a basic understanding of cat anatomy will greatly assist you in capturing the realistic proportions of your cat drawing. Observe and study the structure of a cat’s body, including the shapes of their head, body, legs, and tail. Understanding how the bones and muscles work together will enable you to create a more lifelike representation.
Capturing reference images
Using reference images is a great way to ensure accuracy in your cat drawing. Take photos of your own cat or search for royalty-free images online. These reference images will help you see the specific details of a cat’s features and the way their body moves.

Initial Sketch
Drawing the basic shape
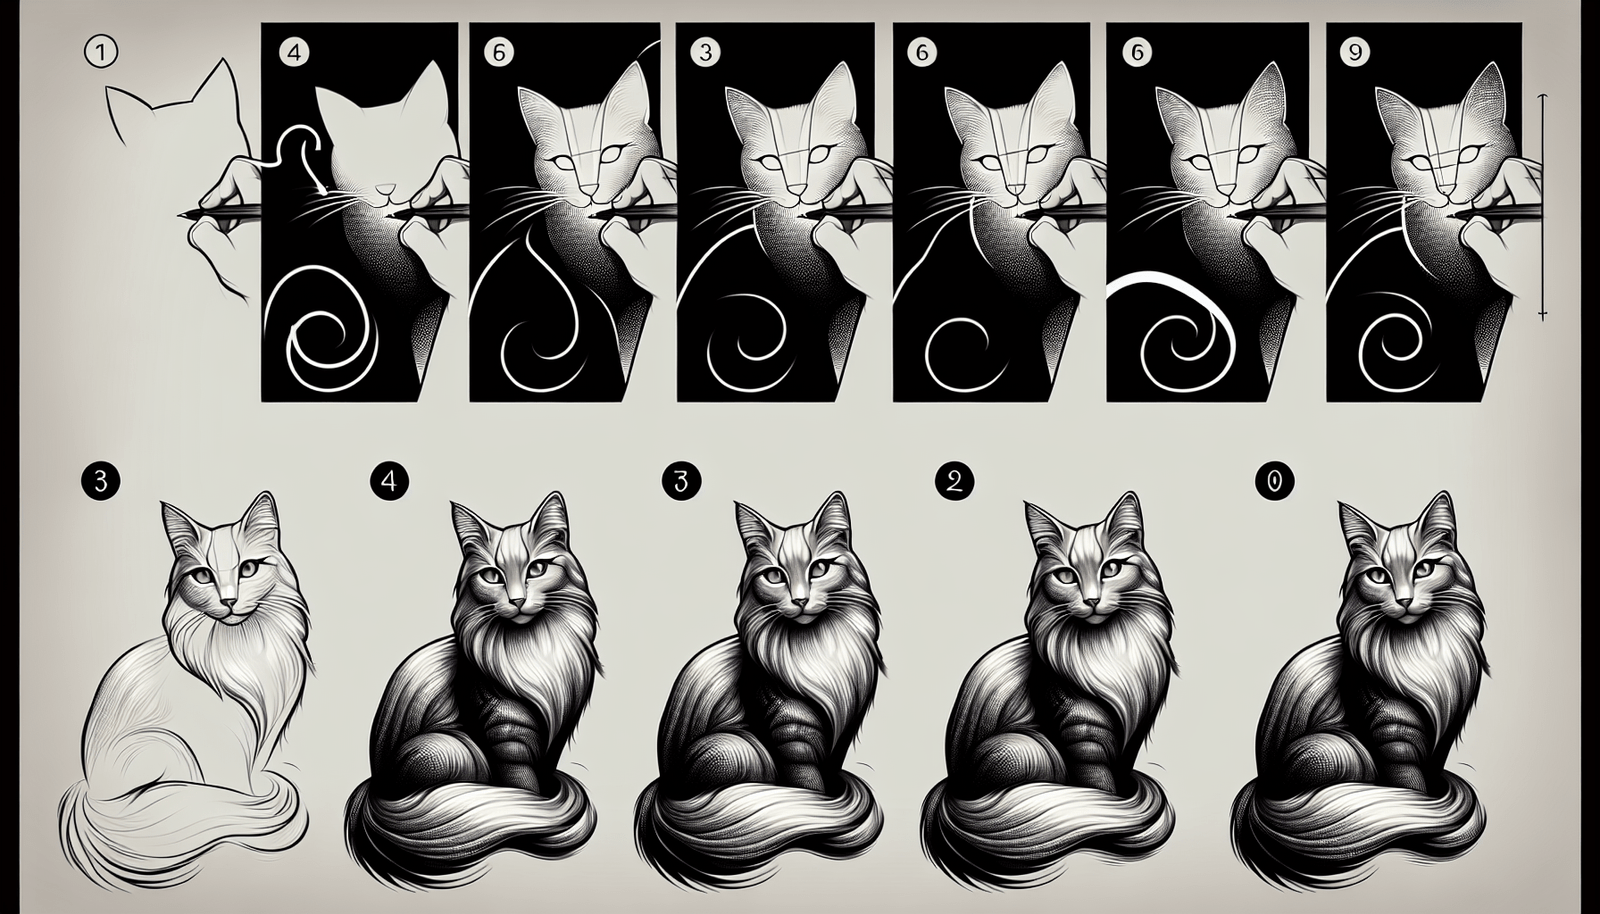
Start your drawing by lightly sketching the basic shape of the cat’s body using simple geometric shapes. This will serve as the foundation for the rest of your drawing. Focus on capturing the overall proportions and positioning of the cat.
Adding the head oval
Once you have the body shape, add an oval shape on top to represent the head. This oval will determine the size and position of the cat’s face in your drawing.
Sketching the body and tail
Using the basic shape as a guide, start adding more definition to the body and tail of the cat. Pay attention to the curves and angles of the body to capture the unique posture you’ve chosen. Sketch in the tail, allowing it to flow naturally from the body.
Refining the Sketch
Fine-tuning the body
With the basic sketch in place, it’s time to refine the details and add more definition to the cat’s body. Start by adding more rounded shapes to represent the contours of the cat’s muscles and limbs. Focus on creating smooth lines and paying attention to proportion and symmetry.
Shaping the tail
Refine the shape and flow of the tail, adding texture and details to make it look realistic. Pay attention to the way the fur falls and how the tail tapers towards the end. Use your reference images to capture the unique characteristics of your chosen cat breed.
Enhancing the head and face area
Now it’s time to focus on the head and face of your cat drawing. Refine the shape of the head and add more details to the face, such as the eyes, nose, and mouth. Pay attention to the position and shape of the ears, as they can greatly influence the overall expression and personality of the cat.

Adding Details
Sketching facial features
The eyes, nose, and mouth are crucial for capturing the likeness of a cat. Use your reference images to carefully sketch these features, paying attention to their position, size, and shape. Cats have a wide variety of eye shapes and expressions, so be sure to capture the unique characteristics of the cat you are drawing.
Outlining the ears
Cats‘ ears come in various shapes and sizes, so take note of the specific ear shape in your reference images. Carefully outline the ears, adding details such as fur tufts or folds. Pay attention to the positioning of the ears to give your cat drawing a realistic and natural look.
Drawing the feet and claws
Don’t forget to add the paws and claws to your cat drawing. Observe the shape and structure of a cat’s paws and use light sketching to represent their form. Add fine lines to indicate the presence of claws, but be careful not to make them too sharp or prominent.
Inking the Drawing
Choosing the right inking tool
When you’re satisfied with your pencil sketch, it’s time to start inking. Choose a fine-tipped pen or a set of ink pens with various line weights. Consider the style you want to achieve and select the appropriate inking tool accordingly.
Going over the sketch
Using your chosen inking tool, carefully trace over your pencil lines, making them clean and bold. Take your time and work slowly, paying attention to the details and maintaining a steady hand. Ink the main outline of your cat drawing first before moving on to the smaller details.
Creating texture through inking
To add texture and depth to your cat drawing, experiment with cross-hatching and stippling techniques. These techniques involve using small lines or dots to create shading and texture. Utilize different line weights to indicate areas of shadow and highlight, adding dimension to your drawing.
Erasing the Pencil Lines
Waiting for the ink to dry
Before you start erasing the pencil lines, make sure the ink is completely dry to avoid smudging or smearing. Give the ink ample time to dry, as this will ensure that the erased lines don’t leave any unwanted marks on your drawing.
Careful erasing techniques
Once the ink is dry, use your eraser to gently remove the pencil lines. Take care not to apply too much pressure, as this can damage the paper or smudge the ink. Use quick, light strokes to remove the pencil lines while preserving the crispness of your inking work.
Retaining the necessary outlines
As you erase the pencil lines, be mindful of the outlines that define the shape and details of your cat drawing. Retain these necessary outlines to maintain the clarity of your drawing. Focus on erasing the internal guidelines and any unnecessary marks, ensuring your cat stands out against the clean background.
Adding Shading and Textures
Shading the body and face
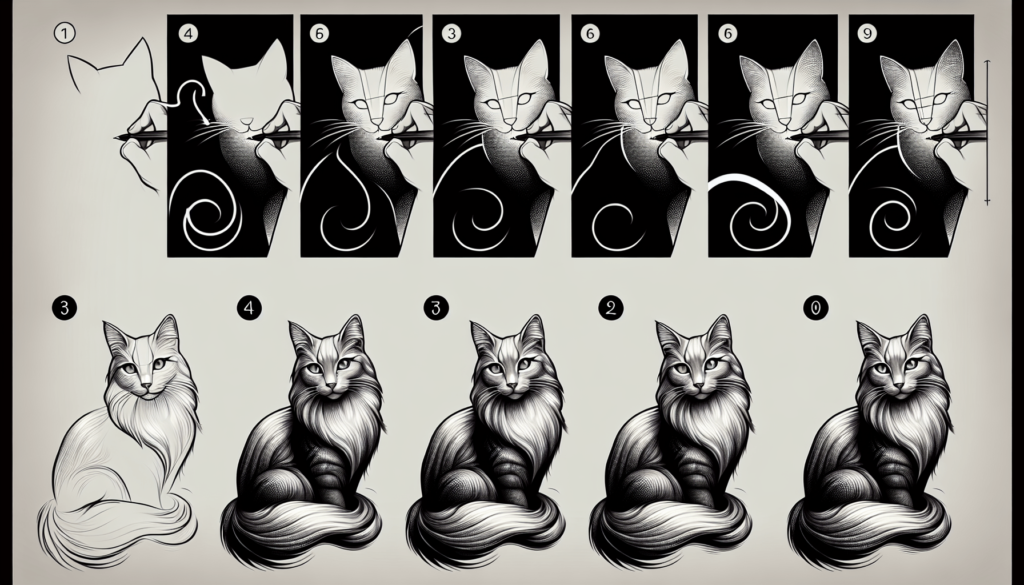
Now it’s time to add shading to your cat drawing to create depth and dimension. Observe your reference images and identify areas where light and shadow fall on the cat’s body. Use your chosen shading technique, such as cross-hatching or shading with a pencil, to add subtle shadows and highlights. Pay attention to how the fur flows and the shape of the underlying muscles to create a realistic effect.
Creating the fur texture
To make your cat drawing more lifelike, add texture to the fur. Use small, quick strokes or dots to create the appearance of fur. Vary the length and direction of your strokes to mimic the texture of the cat’s coat. Focus on areas where fur is more pronounced, such as around the neck, cheeks, and tail.
Shading the eyes and nose
The eyes and nose are important areas to shade, as they play a significant role in capturing the cat’s expression. Use light shading to add depth and texture to the eyes, focusing on the iris and the reflections of light. Shade the nose to give it a three-dimensional appearance, paying attention to the nostrils and any highlights or shadows on the surface.
Coloring the Drawing
Choosing the right colors
Decide whether you want to color your cat drawing. If you do, choose colored pencils, markers, or watercolors that match the colors of your reference image or your desired color scheme. Consider the coat pattern and colors specific to the breed you are drawing.
Applying the base color
Start by applying a base color to the cat’s coat. Use light, even strokes to fill in the entire area, covering the lines and shading you’ve already done. Build up the color gradually, adding layers to achieve the desired depth and saturation.
Adding highlights and lowlights
To enhance the depth and realism of your colored cat drawing, add highlights and lowlights. Use a lighter or darker shade of the base color to add areas of light and shadow, focusing on the contours and curves of the cat’s body. Pay attention to where light would naturally hit the cat, such as the top of the head, shoulders, and back.
Final Touch-Up
Assessing the drawing
Take a step back and assess your cat drawing as a whole. Look for any areas that require further refinement or adjustment. Check the proportions, symmetry, and overall composition of the drawing. Make any necessary corrections before moving on to the final touches.
Adding final touches
Now that your cat drawing is nearing completion, add any final touches to bring it to life. This may include adding whiskers, stray fur strands, or small details that enhance the cat’s features. Take your time and be precise in these final touches to ensure they enhance the overall quality of your drawing.
Proper storage of the drawing
Once you’re satisfied with your cat drawing, it’s important to store it properly to preserve its quality. Place a clean sheet of paper or a blotting sheet over the drawing to protect it from smudging or damage. Consider framing the drawing or storing it in a portfolio to protect it from environmental factors such as light, dust, and humidity.
Drawing a cat step by step can be a rewarding and enjoyable experience. By following these guidelines and taking your time with each step, you can create a beautiful and realistic cat drawing that showcases your artistic skills. Remember to practice and experiment to develop your own unique style, and most importantly, have fun throughout the process. Happy drawing!


